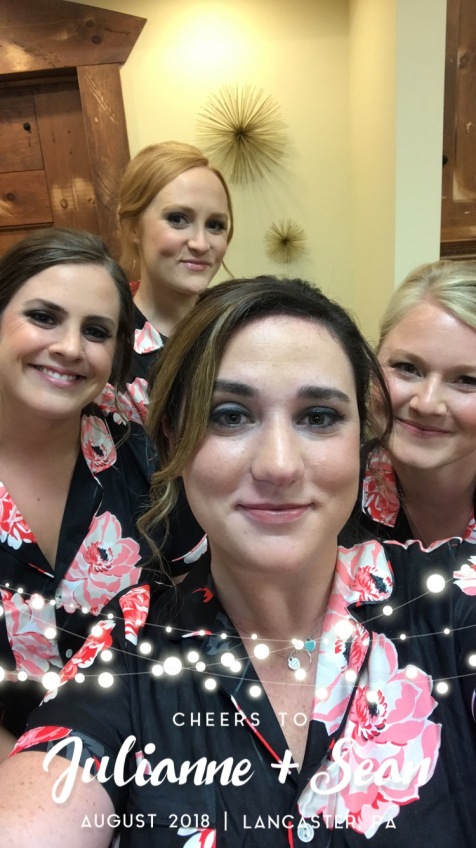
Hey Peeps,
I’ve recently discovered Custom Snapchat filters and I am OBSESSED. I plan on using them for literally every occasion. I’ve gotten a number of questions from friends and family on how to create one so I thought it might be a good thing to share! If you already know how to do it, well then, carry on.
While you can make them yourself if you are so artistically inclined, I have opted to buy filters from Etsy. They normally are around $3 – $15 depending on the vendor. I’ve purchased 4 from all different vendors and was very pleased with not only the filters themselves, but more importantly the turn around time! You can see some examples on Etsy here.

Once you have your filter all set, you head over to Snapchat and upload! The custom Etsy filters will come in the size that works for most phones on Snapchat which is one of the big reasons why I used a vendor. You can get started here. Choose “Create Filter” and then opt for the “Upload Your Own” button.
Once you upload, you’ll be asked to pick the duration of your filter as well as the geographic location you want to cover. The longer you have the filter up as well as the larger the area you choose to cover, the price goes up. It should only be about $5 or so for $24 hours to cover a property, but you can play with the property lines yourself to adjust the pricing.

Once submitted, Snapchat needs to review your filter. While they say it can take up to a week, I’ve received approval within a few hours. Once Snapchat approves, you’re all set! Make sure everyone who would like to use the filter has the most updated version of Snapchat.
While I know Snapchat is on the decline in terms of popularity, I sometimes use Snapchat to take the picture and then post it on my Instagram story (shhh… don’t tell Evan).

Let me know if you have any tips or tricks that you’ve tried with the custom Snapchat filter option. I’m anxious to see when Instagram will create a similar function.
Happy Snapping,
Paige xx
